Gypsum Board Machine Factory
Paper Faced Gypsum Board Machinery
Produce Gypsum Board
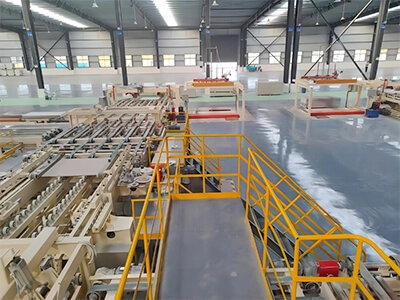
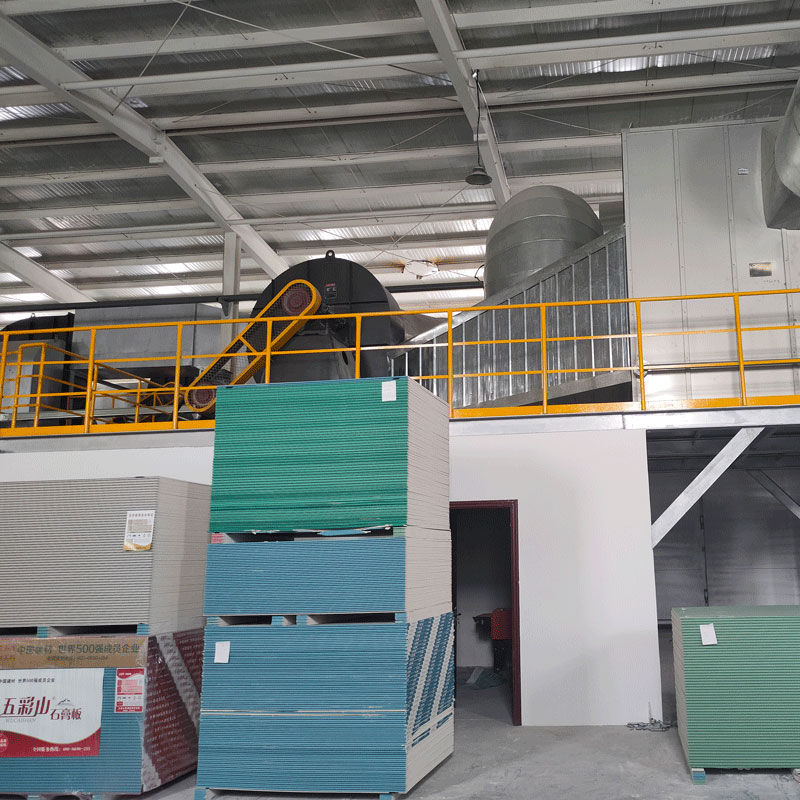
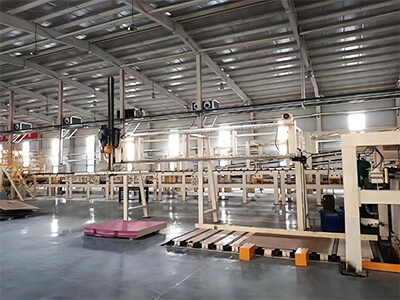
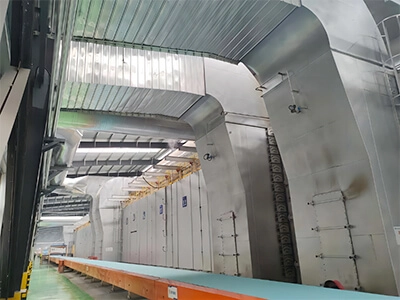
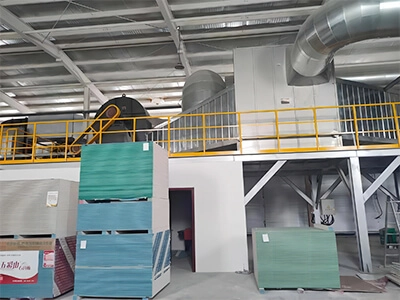
Paper Faced Gypsum Board Production Line
You need to fill the hole or fill the crack in the corner. For easier and cleaner surface finishing, you can use a universal mixing joint compound as an example. After the first drying, there must be a second layer of joint compound. Furthermore, please note that the drying time can vary between 12 and 24 hours depending on temperature and humidity. Then, you can start painting your gypsum board.
Gypsum board from Gypsum plasterboard production line
installation
Before starting to install the gypsum board, please ensure that you have prepared the materials you will need and use:
Screw
• Pins
• Washers
• Drill
• Metal profiles U and C
Trimming knit
T-shaped ruler
Adhesive applicator
• A tape measure
• A pencil
A hammer
• Sound insulation tape
Step 1: Control the wall
Determine the location and safety of the composite wall. Mark the fixed line of the U-shaped profile with a pencil. The marks on the floor are lifted to the ceiling with a lead hammer and pulled onto the ceiling with painted hemp ropes.
Step 2: Preparation of metal profiles


The length of the cladding wall is determined using a tape measure and a U-shaped profile is cut according to this length. The C-shaped profile is shortened by 1 centimeter at the ceiling height for easy installation. When the C configuration file is cut to the maximum extent, even the smallest errors during the assembly process can lead to very good results during the installation process. Before fixing the profile, place soundproof tape under the profile. The number of C-shaped profiles is calculated by accepting the profile's wheelbase to 60 centimeters. For wet volume wall applications, the axial spacing should be 40 centimeters.
Step 3: Fix the U-shape
U-shaped profiles are installed on the floor and ceiling using drill bits, pins, screws, and washers.
Read our related posts to learn more about our metal configuration files!
Step 4: Fix the staples
Select appropriate staples based on the distance between the cladding wall and the building wall, and fix them to the wall with pins and screws.
Step 5: Installation Engineering and Insulation
The wires and pipes should be completed before placing the panel. For example, to hide maintenance of pipelines or electrical systems, you can use an access panel system.
Step 6: Tighten the gypsum board
Fix the gypsum board on U-shaped and C-shaped profiles, and use a drill bit or hammer to fix the screws along the edge of the gypsum board. When tightening the screws, the screw gap should not exceed 30cm and the screws should be tightened. When tightening, the distance between the screw and the edge of the gypsum board should not exceed 1cm.
Step 7: Coating and Surface Preparation